Follow me on Pinterest

Tuesday, October 13, 2015

TOOTHLESS HOODIE

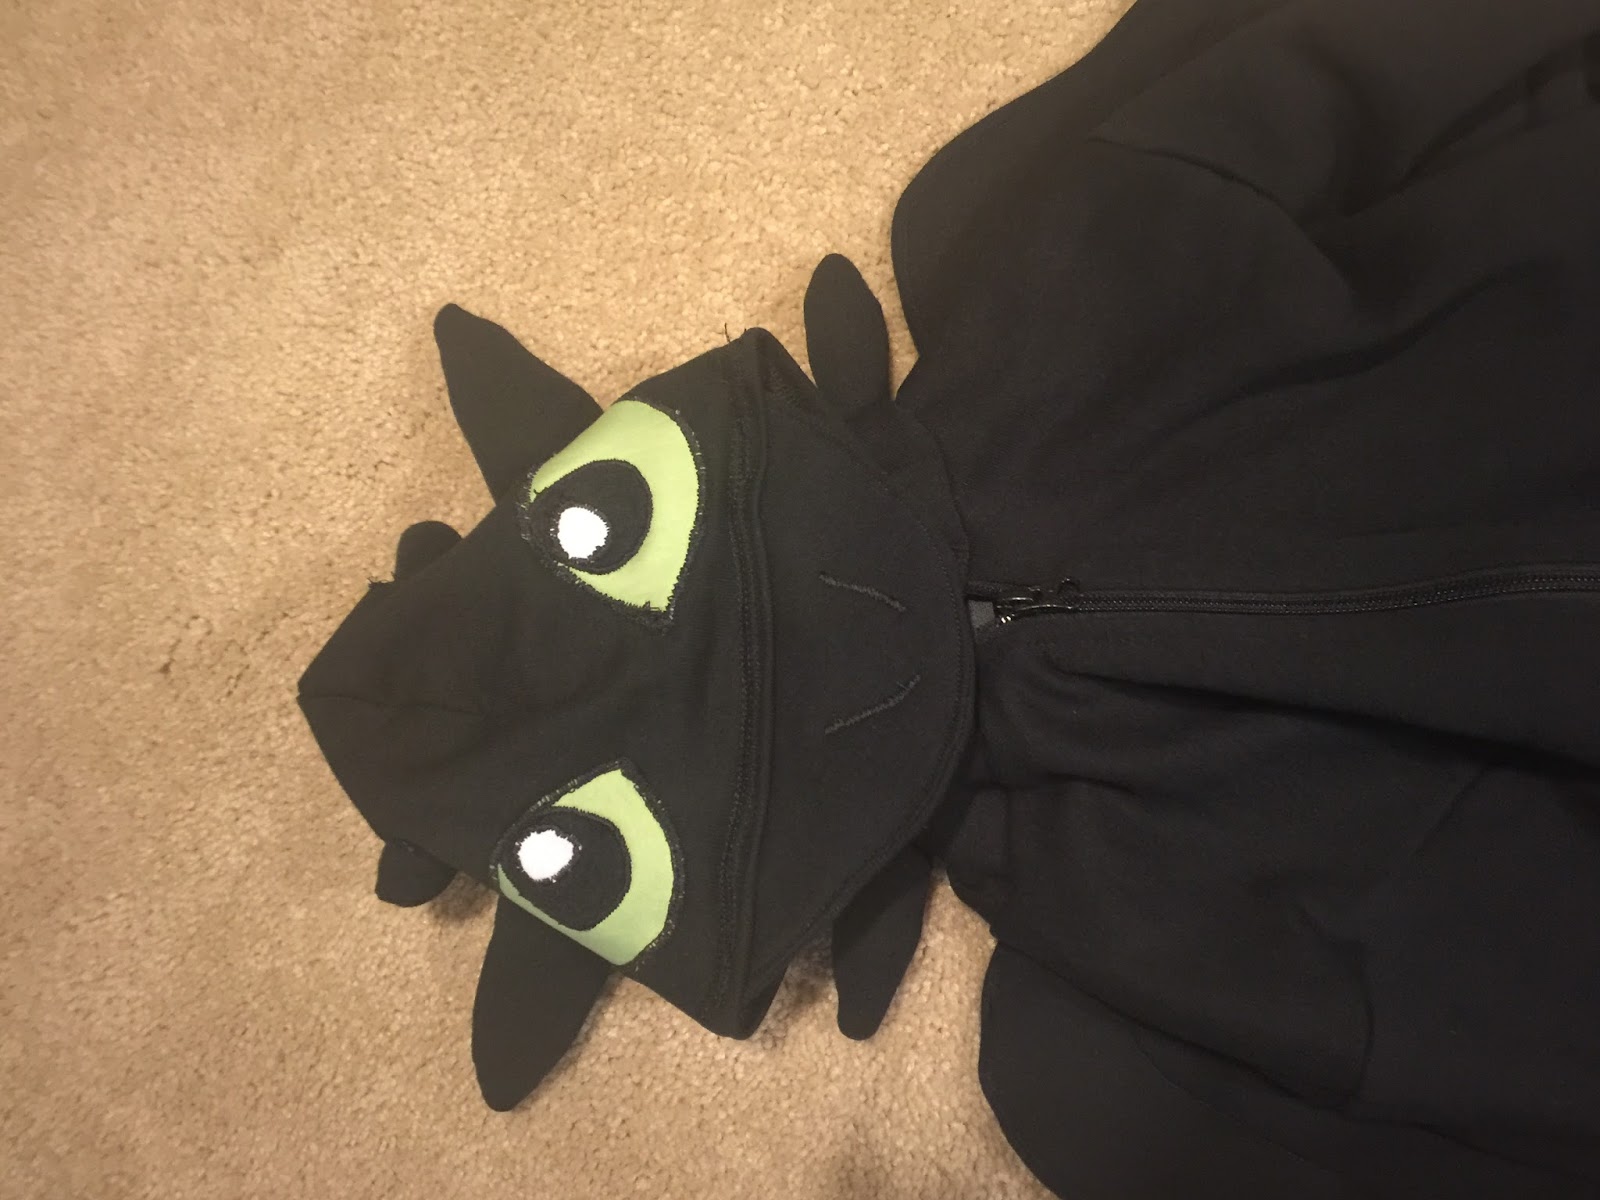
 $10.00 kids black zip up jacket from Wal-Mart and $5.00 sweats (XXL-kids size-get the most for your money).  The sweats would fit a small adult.  Just to give you an idea of how much material you need.  I cut out the pieces I needed to add to the jacket from the sweats.  I stuffed the ears, spikes down back, and tail with stuffing from an old pillow.  I put 3 layers of interfacing in the wings, and the tail.  I had the white from an old t-shirt, the green from an old suit shirt, and the red from some red scrap material.  Took me maybe 3 hours.  Super easy, fast, and cheap!!


Paint your chairs for $49.00 instead of reupholstering

I painted both chairs for $40.00 instead of reupholstering them myself.  If I found material for $10 a yard, I would've needed 5 yards for one chair, making the material itself cost me $100.00.  This doesn't count my time ripping both chairs apart and putting it back together.  

Sign me up!!! 


 1 Quart Behr battleship grey paint
 Add 2-8 oz. bottles of fabric textile medium from Hobby Lobby
(mix it really good)
 The chairs with the first coat of paint on them

Let it completely dry
2nd coat of paint

I sanded the chair material down after it was completely dried.  It gave it a soft feeling to the chair.


Put a third coat on the chair, let it completely dry, and sand it down once again to give it that soft feeling you'd want to sit down and relax on.  I also sanded down the feet to the chair, painted them white, and glazed them with a dark brown stain to give them an antiqued look.

 All done.
I love sitting here!!


BEFORE
AFTER


Wednesday, September 2, 2015

FARM ANIMALS CAKE TOPPERS


COW

SHEEP


DUCK, PIG, & COW, CUPCAKE TOPPERS


ROOSTER


HORSE CUPCAKE TOPPER

DUCK & LADY BUG CAKE TOPPERS


HORSE CAKE TOPPER


Travel Trailer Update


We recently bought a used Travel Trailer which I wanted to update.  So here I have the before and after pictures, along with some in-betweens.  
We knew we'd have some water damage problems because of this baby here.  We just didn't realize how much.
With my gloves and face mask on I went at all of the obvious water damaged areas.  I ended up ripping out the entire corner and dousing it with bleach to kill any mold.  If you look close you can see the hole to the outside.
After the bleach dried out I added new insulation, new boards, and new trim.  I also replaced the metal panel piece outside where the hole is.

These are the paint colors I chose.  The yellow is like a buttermilk yellow.

I painted the cabinets with the green olive color.  Then I glazed them with a walnut stain.  The hardware needed to be scuffed up with a wire brush, then it was spray painted with the Rustoleum Oil-Rubbed Bronze color.  
Here come the after pictures.
It looks AWE-SOME!!!!
Here are the Before and After pictures to compare.