A few things in my tutorials have some glazing in them so I thought I'd do a tutorial on glazing :).
Here's what you'll need:
-a pair of gloves
-some old socks (I save all of the ones that have holes and use them for glazing)
-a cup you can throw away
-something to mix with that you can throw away
-Behr Faux Glaze (I got it from Home Depot)
-the stain color you want to mix ( I used Dark Walnut)
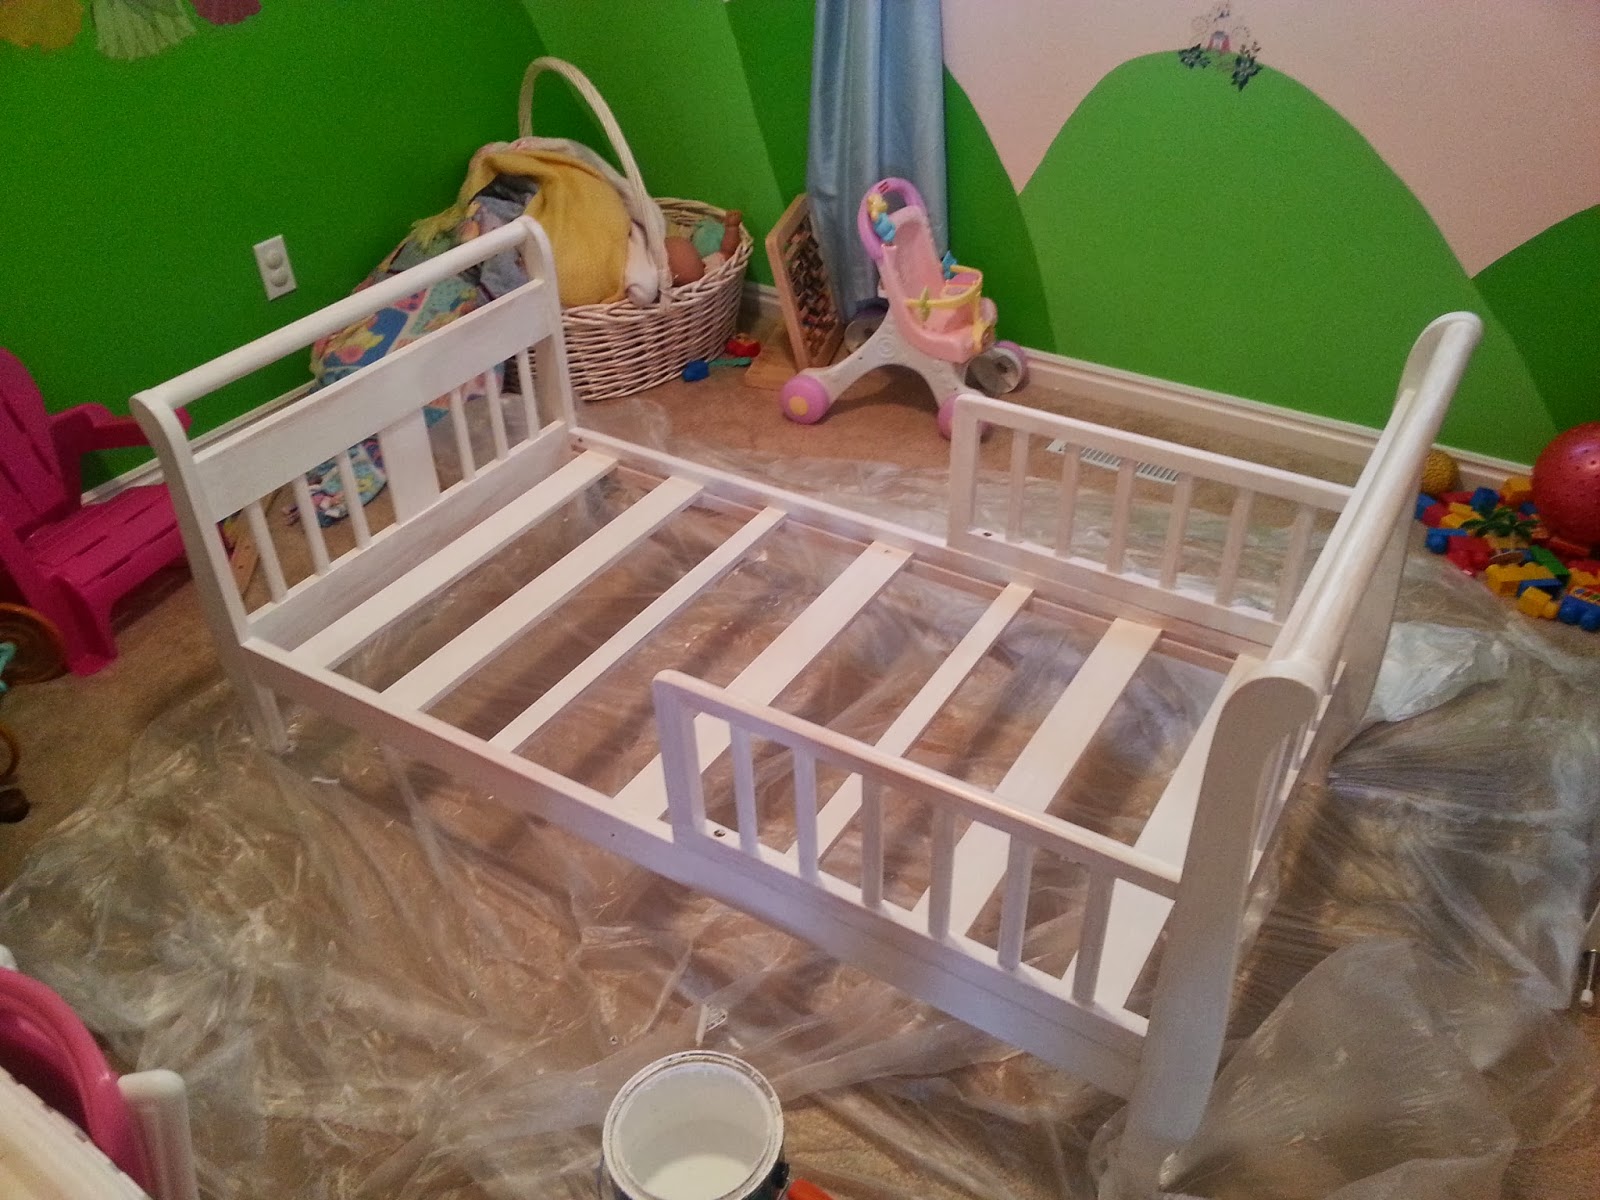
First, put your gloves on and open up the glaze and the stain. Next, you'll pour the glaze into your cup. Depending on how big your job is determines how much you'll want to mix. The glaze does go kind of bad if it's out for too long (like an hr.). When it goes bad you can tell because it starts to dry a lot quicker and it goes on differently. So if you're still working on your project when this starts to happen, just throw it away and mix up a new batch. On this particular project...(the bottom part of the desk nook-tutorial coming soon)
I mixed in 1 inch of glaze into the cup and about 6 spoonfuls of stain. Make sure you mix this up really good! When you glaze you don't need that much stain mixed into the glaze because the stain is so dark and over powering. If you are not sure if you like the color just put a few spoonfuls in and mix it up and test it out to see if you like it. If you want it darker, just slowly keep adding and testing it out until you get the right color.
This is the glaze before i put the stain in.
This is what it looks like after you mix in the stain and mix it really well. I made this one really dark.
Now you'll put on your sock(s) (depending on how you want to do this).
If you want to do it like me, you'll put one sock on. I like to use one because i'm not super coordinated with my left hand :). When my sock gets really soaked and un-usable I just throw it away and put on a new one. With my method you wipe on the glaze with your one sock and then go back over it and wipe it off/into your project.
If you're doing a small project you'll probably only use one sock.
If you're like my sister-in-law, you'll put a sock on each hand. She likes what we'll call the "karate kid method". You wipe on with one hand, and wipe off with the other.
If you want your glaze to look very light you want to make sure you wipe it on and wipe it off. Don't let it sit! The longer it sits, the darker it gets.
Now that you have your sock(s) on, dip your hand into the glaze and wipe it onto your project.
generously...
In case you're wondering why I have the sock on my left hand it's because I couldn't take this picture unless I used my right hand...:)
I really like to rub it on heavy in any creases or corners. When you wipe it off, the glaze is still in those creases and corners making it look really dark. I like the accent look it gives.
Now you'll want to wipe off the glaze. And like I said before, depending on how dark you want it determines how quickly you wipe the glaze off after you wipe it on.
Make sure that you stir your glaze mixture often. The glaze and the stain tend to separate after so long. So just to make sure you don't have some funny colors going on you'll want to keep your spoon, or whatever you used to mix it up, in your cup so you can stir it often.
And here's my final project...
When you finish your project you'll want to make sure you cover it with a protective sealant. Let your project sit for a week before you seal it so your glaze can completely dry and harden. Polycrylic and Polyurethane are the two I would suggest. They both work great, but Polyurethane yellows over time. So I would suggest you do Polycrylic on your lighter colored projects and Polyurethane on your darker projects.


.jpg)


