Follow me on Pinterest

Friday, June 27, 2014

Trick or Treat Sign


What you'll need:
-different kinds of Halloween themed scrapbook paper
-cut out letters
-Mod Podge
-paint brush
-different colors of tole paint

Paint your blocks.  While they dry, cut out your scrapbook paper to fit the blocks.  When dry, attach the paper to the blocks with Mod Podge.  Once the paper is on, attach the letters to the paper.  The entire front of each block should be covered with Mod Podge.  

And you're done.

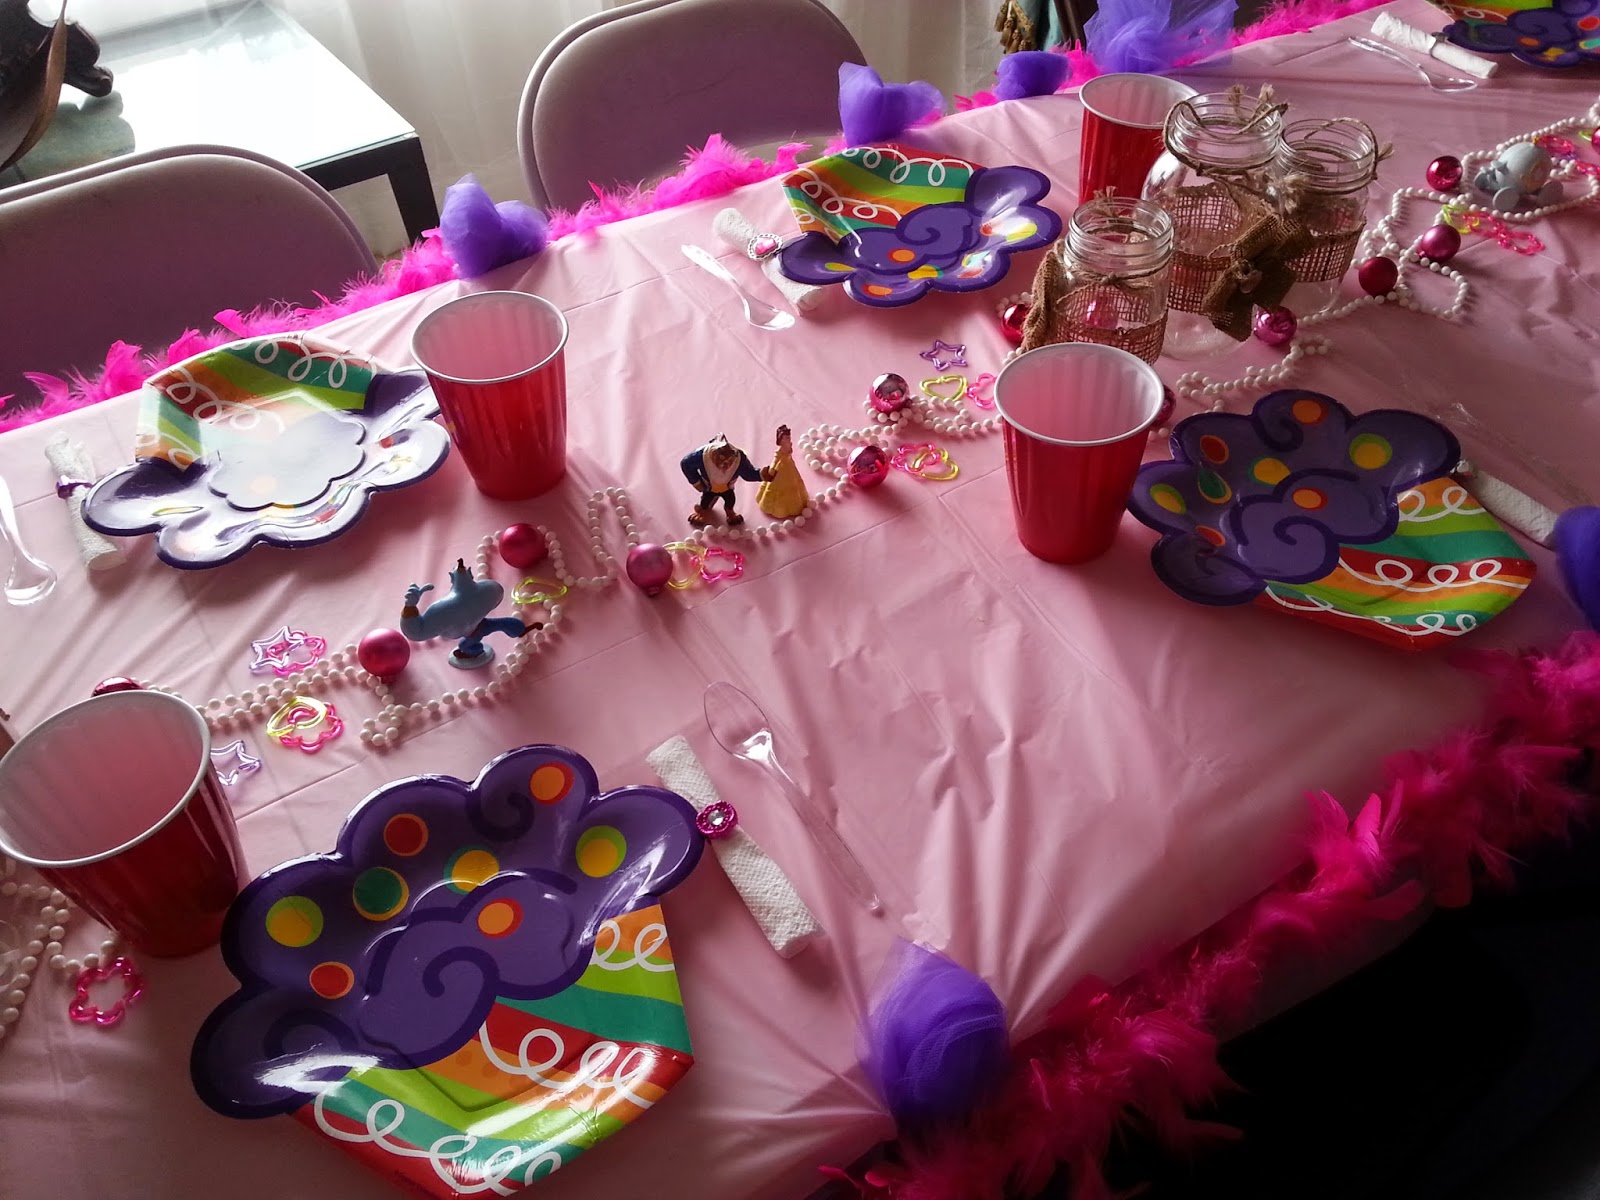
Princess Party Ideas


Patriotic Wreath


I made the outer edge last summer to go with a gone surfing sign. So if you want to do that part you'll need more by the yard burlap, crafting wire, and a metal wreath (used for burlap wreaths).  


What you'll need:
-by the yard burlap
-crafting wire
-letters
-your choice tole paint colors
-glitter in the same colors as your tole paint
-paint brushes: one 1" wide and another 1/4" wide
-Jute string
-cardboard
-razor knife
-hairspray
-Philips head screw driver

Cut 6 pieces of burlap about 6" wide and 25" long.
Using your 1" brush paint chevron stripes onto your burlap.  Now, with your 1/4" brush paint smaller chevron stripes on both sides of the 1" stripe.  I painted 2 strips of burlap the same color.
The tole paint dries so fast on the burlap so you don't have time to throw some glitter on there.  Instead, using your hairspray, spray the chevron stripes up close and heavy.  Now sprinkle your glitter on the chevron stripes; staying only on the painted color as good as you can.  Hint: Do one piece of burlap at a time when spraying with hairspray so it doesn't dry out on you.

Paint your letters with the tole paint colors you chose.  Sprinkle the matching color of glitter generously on top of the still wet paint.

Pull out your card board and draw a circle just smaller than the existing metal wreath.

Poke two holes for every spot you'll pull your burlap down to secure it to the card board.  Cut pieces of Jute about 7" long to have enough room to pull the burlap through and tighten to tie in a double knot on the bottom.  
Randomly start poking holes and attaching your burlap to the card board.  Try to leave enough room between each attachment so your burlap and poof up.

This is what mine looked like when I attached all my burlap.  

And here's an idea of what the back looked like.

Now poke two holes close to one another at the edge (wherever you want the top to be) so you can attach it to the door hook.


Once again, poke some more holes...4 to be exact.  Along the top.  These are to feed the crafting wire through to attach the letters to the wreath.  
Cut 3 pieces of wire measuring 15" and 1 piece 20" long.  Attach the letters to the crafting wire.  Using a dowel or your finger, wrap the wire around it to create a spiral look.  


Garden Name Tag Stakes With Chalkboard Paint

To make these you'll need:

-chalkboard paint
-other color of lighter paint (I used some left over exterior paint from my front door)
-paint stirring sticks from your local hardware store (they're free)


Thursday, June 26, 2014

Snow White Toddler Swim Suit Cover Up


I've seen other Disney Princess cover-ups and loved the idea of them, but not exactly the design of them.  So I came up with one that I thought fit what I had in mind.  A more authentic copy cat to the original Princess' dress. 

To start off I got some towels in the colors which closely matched the Princess' Dress.  The white and light blue towels were not used for the Snow White cover-up, I am going to make a Cinderella cover-up next with those two colors.  So needed for the Snow White cover-up you'll need a bright yellow, dark red, and navy blue full size towel.  Also, a yellow ribbon.

Cut two pieces matching the picture below.  I copied the size from a 2T sized shirt.  Sew these two pieces together along the dotted lines.


Cut out 4 pieces that look similar to the blue piece below and 10 pieces similar to the red piece.  Sew 2 sets of 2 blue pieces together to form a sleeve along the dotted lines.  Heat seal and sew 5 red pieces onto each sleeve.  

Pin and sew the sleeves onto the first piece you sewed. 

I sewed my red pieces on after I attached the sleeves.  But I think it would be faster, and easier, to sew them on before the sleeve is attached to the upper piece to the cover-up.

Cut a 5 inch slit down the back of the cover-up.  I cut off the bottom 2 inches of the towel so you have a clean sewn edge and attached it to the slits edges.  

Sew a 1/4" hem at the edge of each sleeve and add a 1/4" thick stretchy band so you create a poofy sleeve look.

...poofy sleeve.

Down the front middle of the cover-up sew a yellow ribbon.

Sew a piece of the other end of the towel to the top neck area.  

Using a 2T dress size, eye how long you want the cover-up to be.  Mine was about 20" wide and 22" tall.  I wanted it to be long.  Pin and sew the yellow bottom to the top piece.  While pinning, gather the yellow in a few different spots to pull in the extra width.  

I have a hand machine to put these plastic snaps onto material.  I believe I got it from Joanns for about $26.00.

And you have your finished product.


Tuesday, June 3, 2014

Garage Door Update

I recently found out that Home Depot sells a Garage Door Hardware kit for under $18 dollars and some odd cents.  I found it in the door hardware isle next to the hinges and such.  

This was super easy to install and it looks so great.  

Before

After

coming soon.. painted windows on the top row